Read part one here.
You’ll recall that at the conclusion of my last post, I had guessed that a 4.5mm needle should be the right size for me to get gauge. The old me of a few years back would have simply used the data collected from the 3.5mm and 4mm swatches, extrapolated that a 4.5mm would do the job, and simply started the project with the largest size, not bothering with a third swatch. However, partially due to a few hard lessons learned in the past few years, and partially because y’all are watching, I took the straight and narrow route. Behold swatch number 3 (with 4.5mm needles):
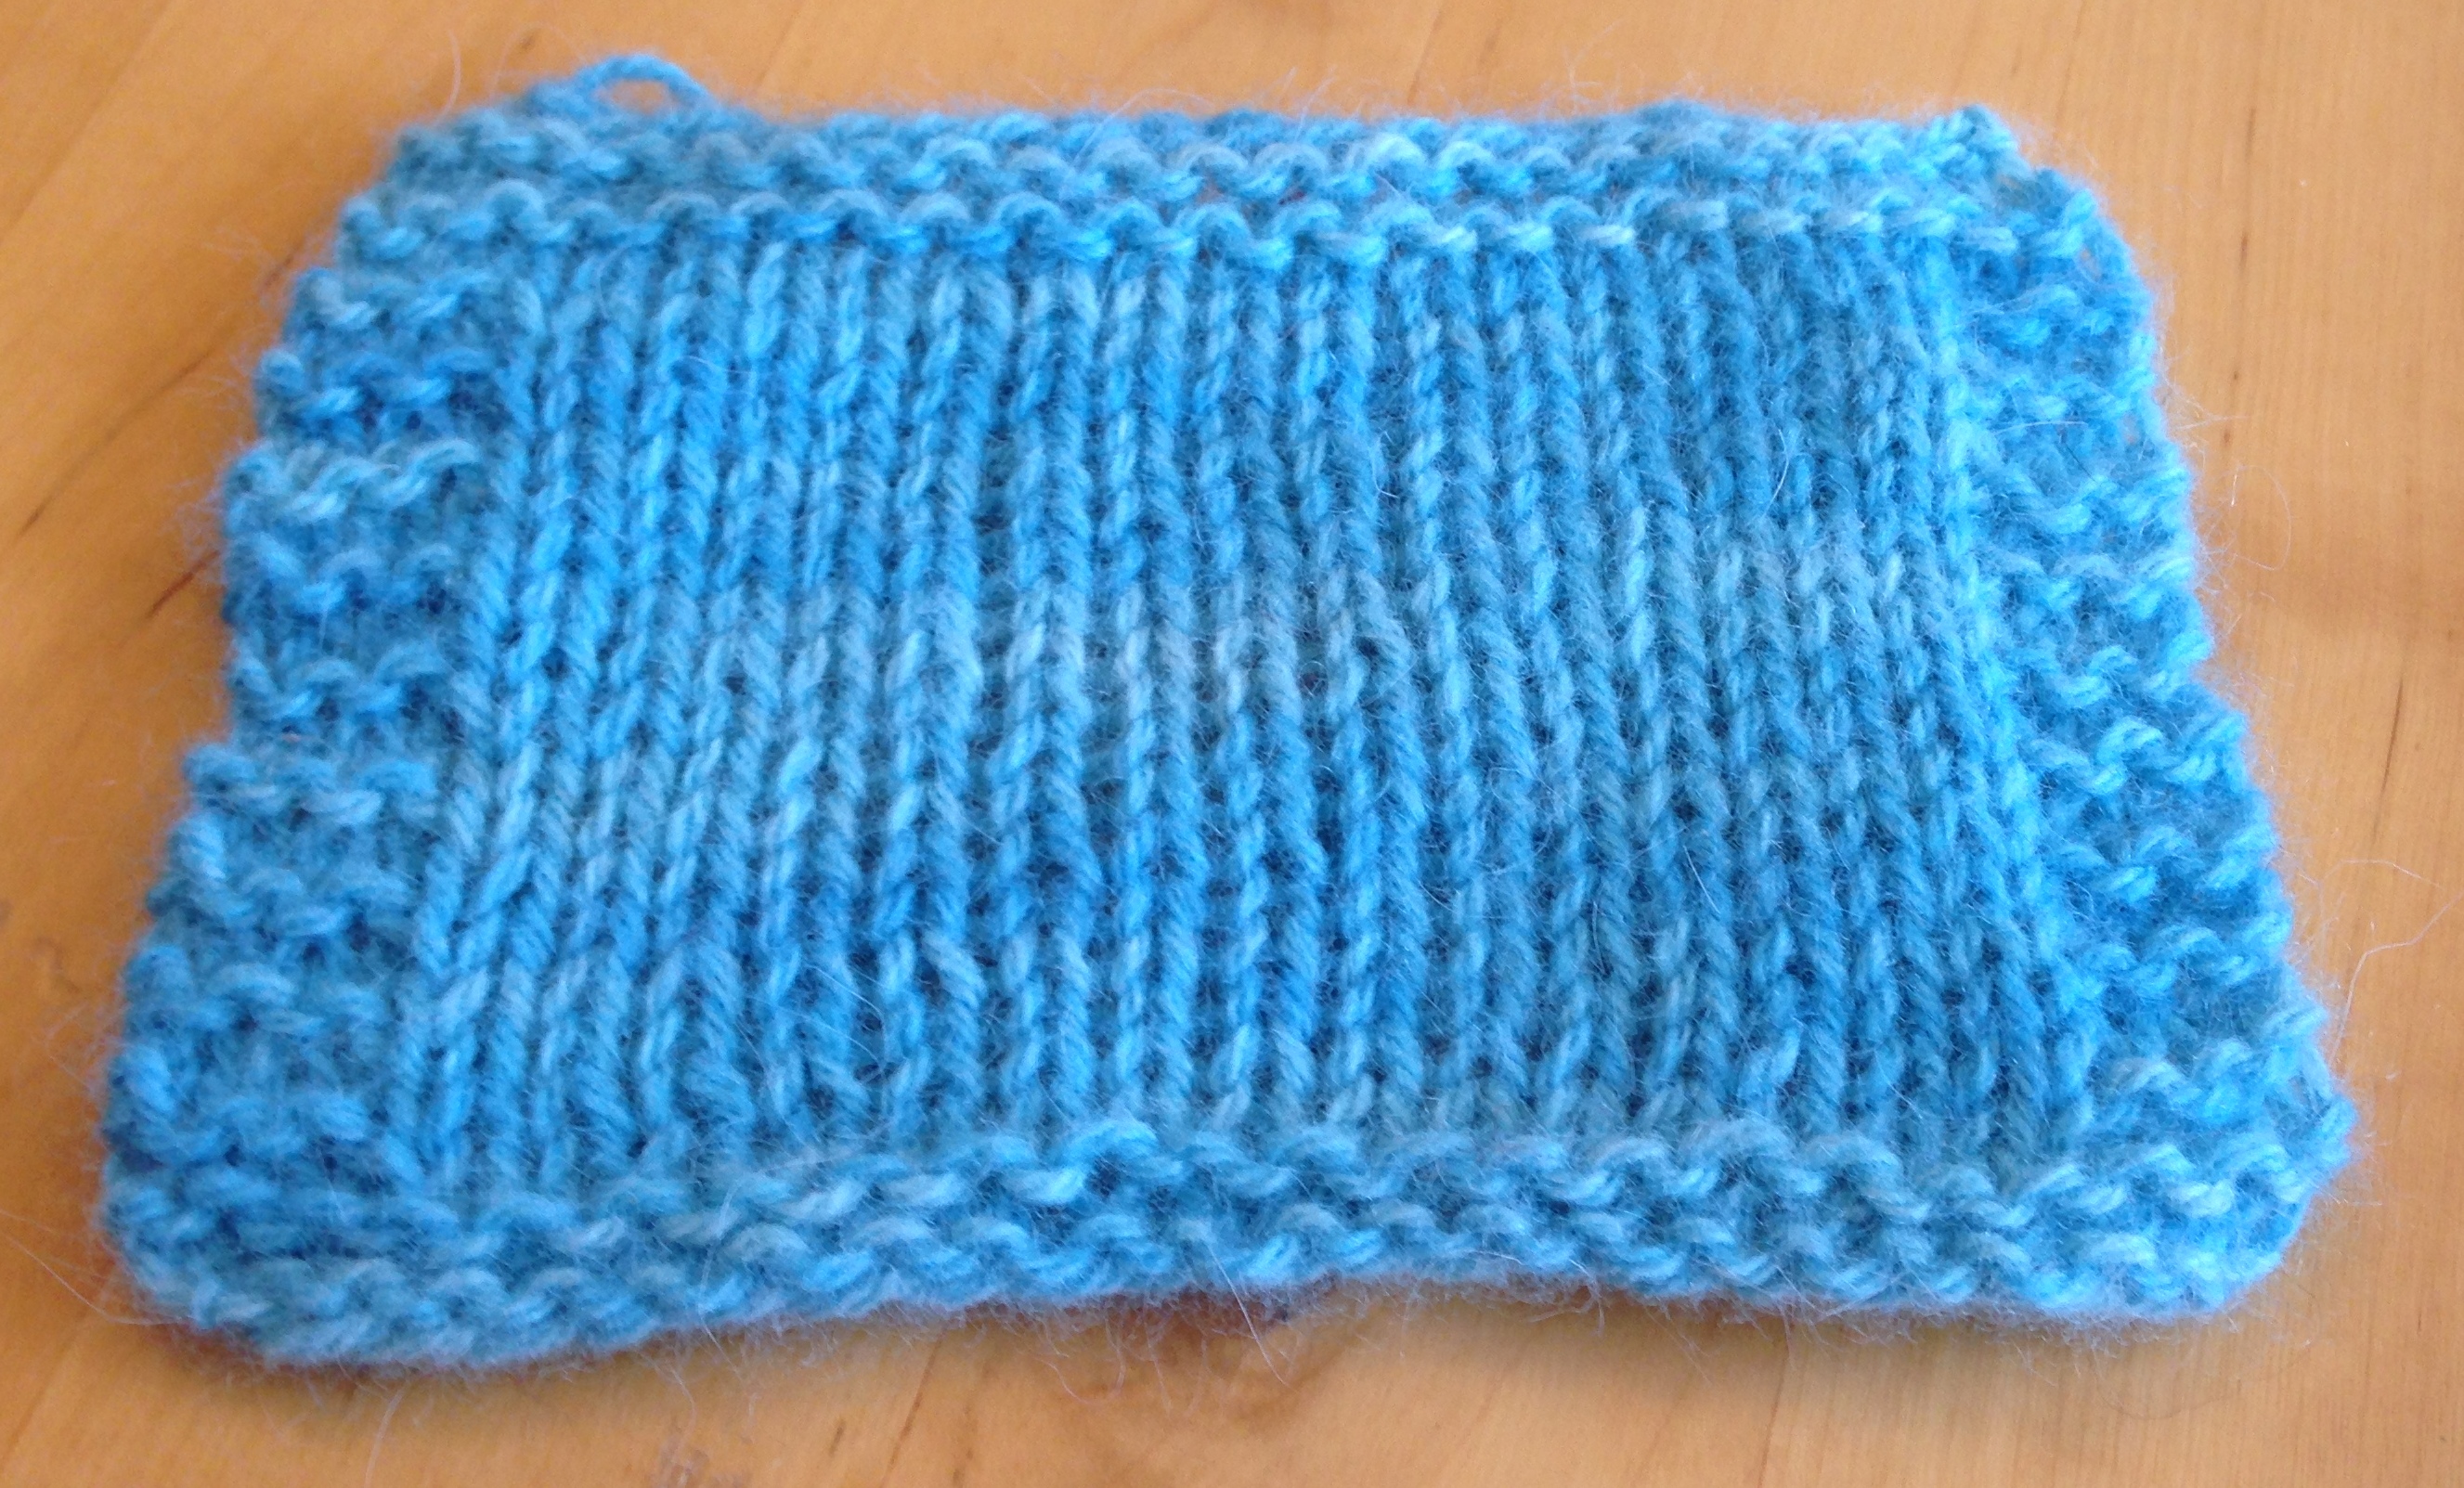 Due to advice from a very wise friend, via Indigodragonfly’s article, “Swatching, or How to Avoid Getting a Sweater the Size of Manhattan (The Drink or the City),” I rewashed the old swatch along with the new, pressed out the extra water with a towel, allowed the to dry, and then hung them up overnight. After remeasuring, I’ve actually decided instead to work with the 4mm needles after all. I found the larger gauge to be rendering a fabric I wasn’t 100% happy with, and after being hung to dry, my original swatch met gauge exactly. Take that old me of a few years back!
Since I last wrote, I’ve finished both sleeves and started on the back of the sweater. After a bunch of research that had me peering closely at project photos on Ravelry and rereading the pattern, I realised that the cuffs of the sleeves are designed with just the stockinette cast on edge – no ribbing, no seed stitch, no nothing. While I have no problem with this look in theory, since the bottom edge of the sweater uses a folded hem, I wanted to have the sleeves match. Much like quite a few Ravelers have done, I used a provisional cast on and smaller needles, did 4 rows in stocking stitch, knit a row on the wrong size, and then switched to the larger needles to turn the hem. Once I’d knit enough rows for the folded hem to line up with the needles, I took the provisional stitches off the scrap yarn, placed them on the smaller needles and knit the two rows together. This method saves you from having to sew the seam by hand afterward.
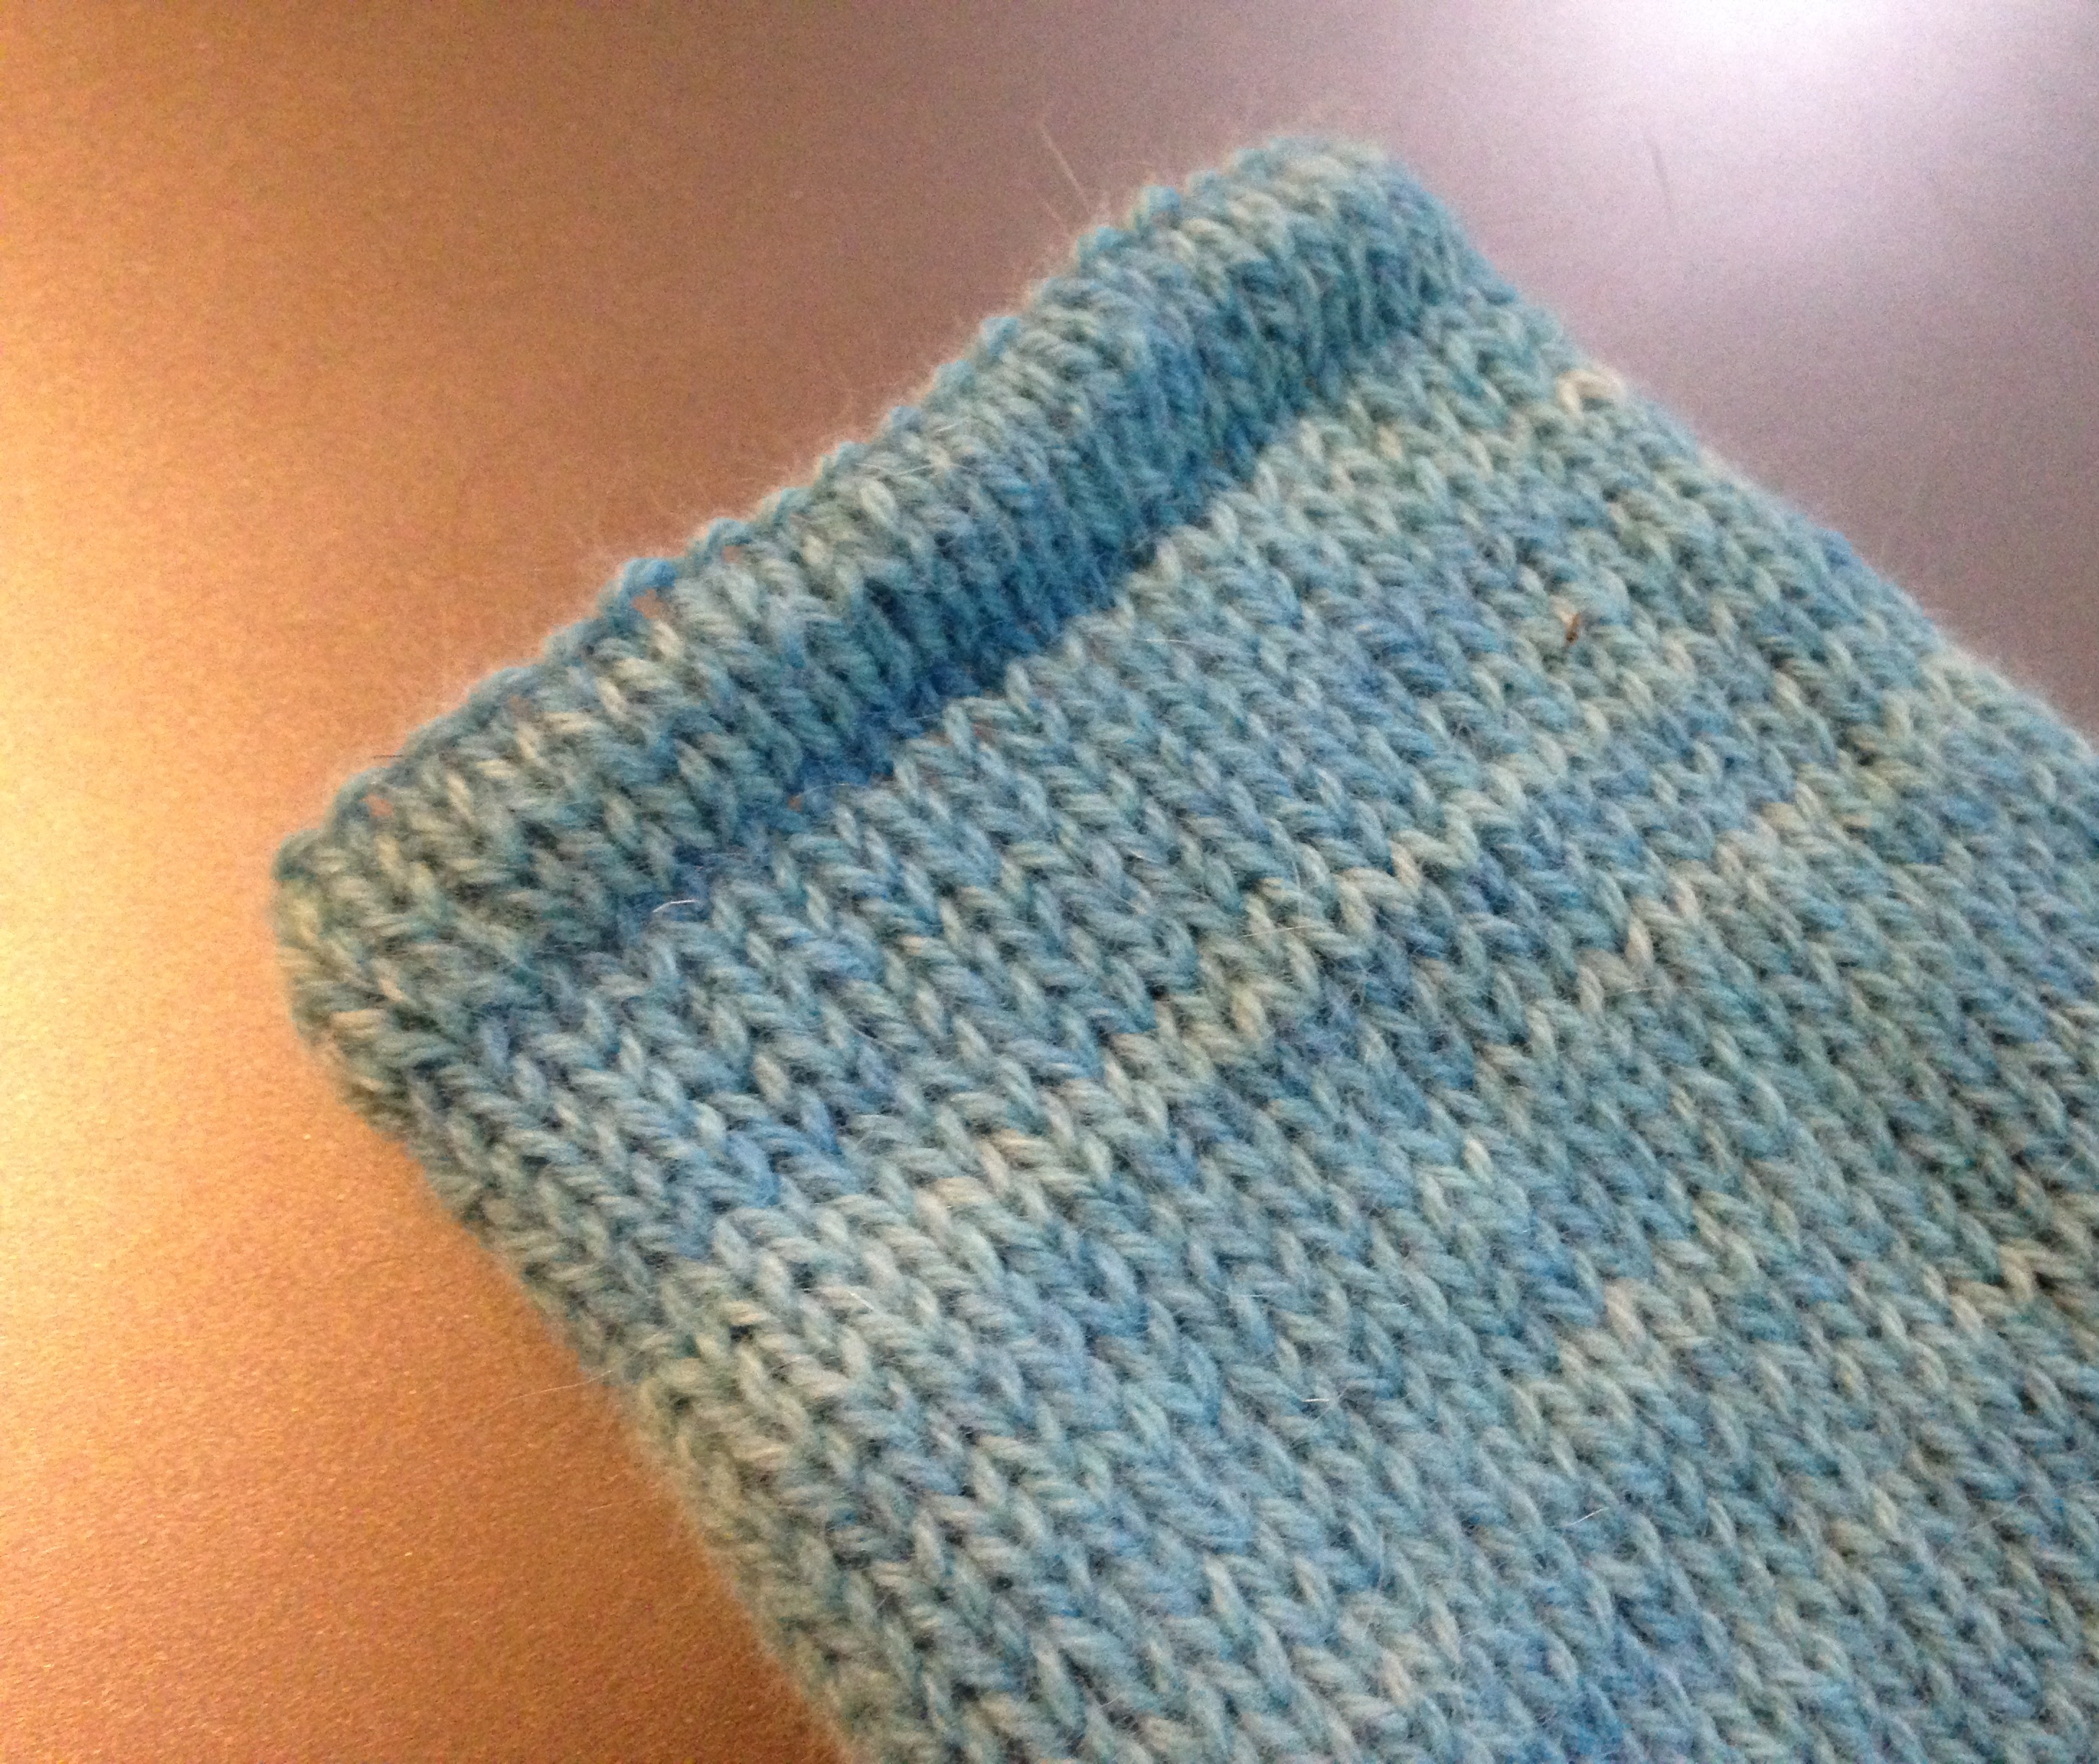
I will admit that I’m a tiny bit concerned that the hem will flip up a bit, but that can be counteracted by blocking and when sewing the seam. Or so I’m telling myself.
I have left the cast on for the back and the fronts as just the stockinette cast on because the pattern has you sew the three pieces together and then pick up stitches to do a folded hem going downward. This way, the hem will all be in one piece and pull the whole thing together at the bottom. This will also help to me to clean up the bottom edge, if it needs cleaning up.
Have any of you got an argument for or against rolled/unfinished hems? Have you got a question about my project, or some sweet sweet advice to offer? Leave a comment below to get the discussion going!
Next update soon.
xox,
-Amelia